FrankenFoamy construction
These pictures are an aid to the June 2000 MODEL AVIATION constuction article.
Plans can be ordered from MODEL AVIATION
 |
 |
 |
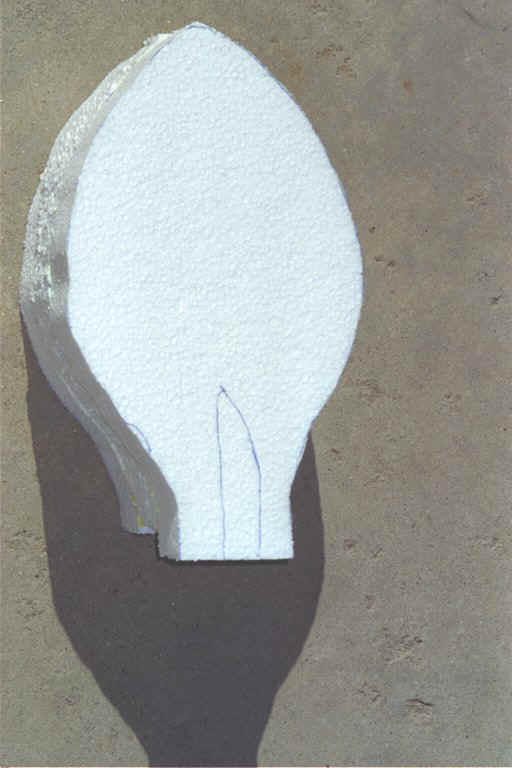 |
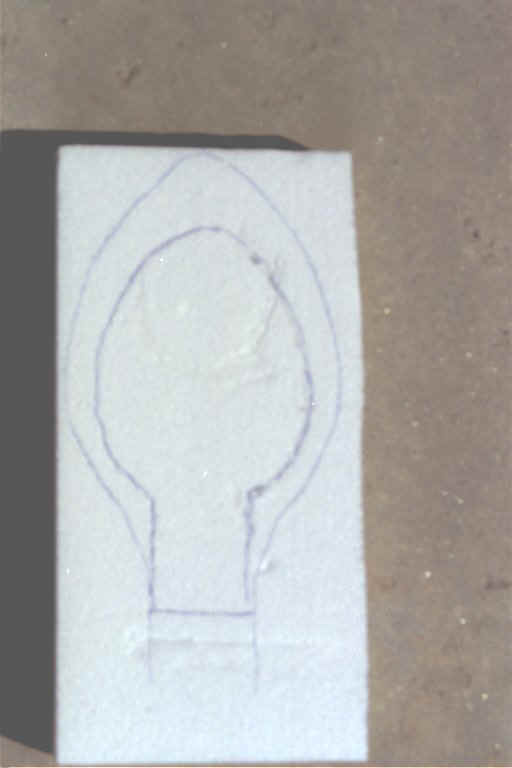
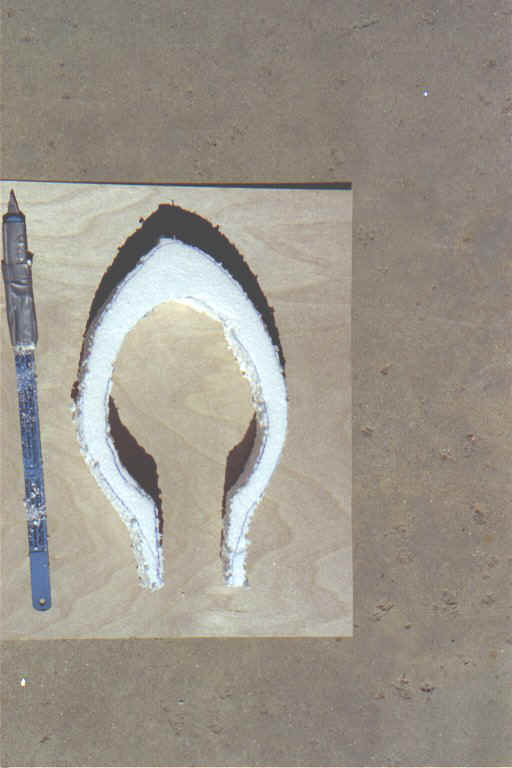
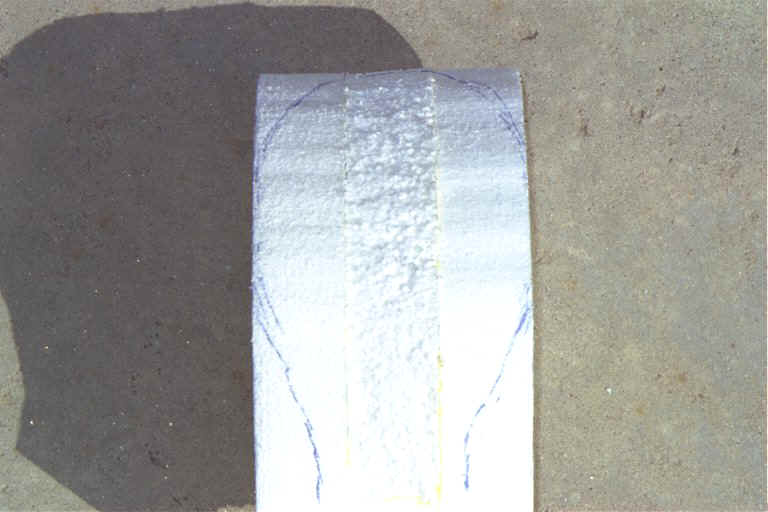
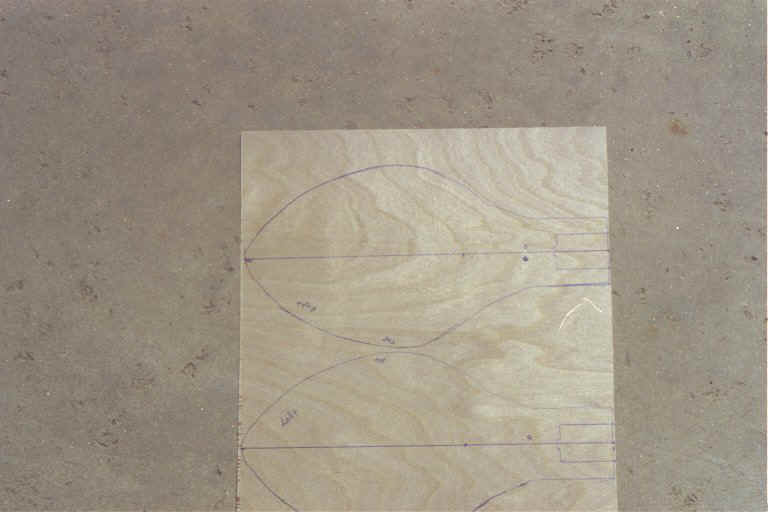
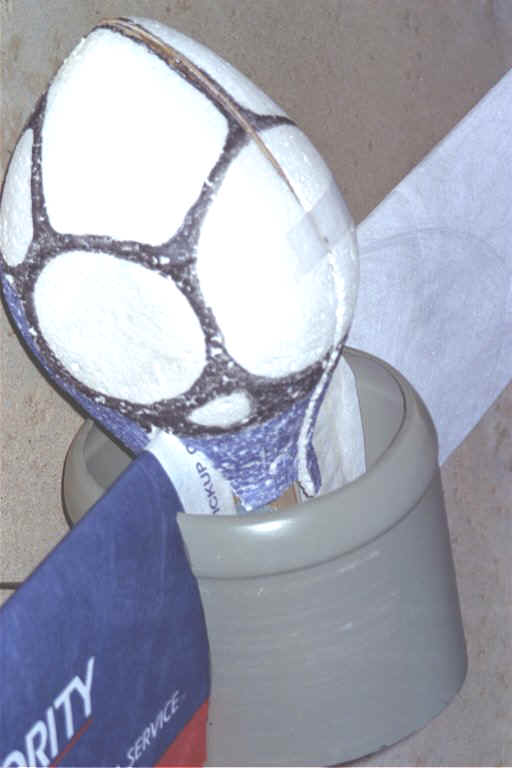
| Trace canopy pattern onto foam. Include the cut out on the center piece(s). | Cut shape with hacksaw blade with tape handle. | Cut out wing slot | |
 |
 |
  |
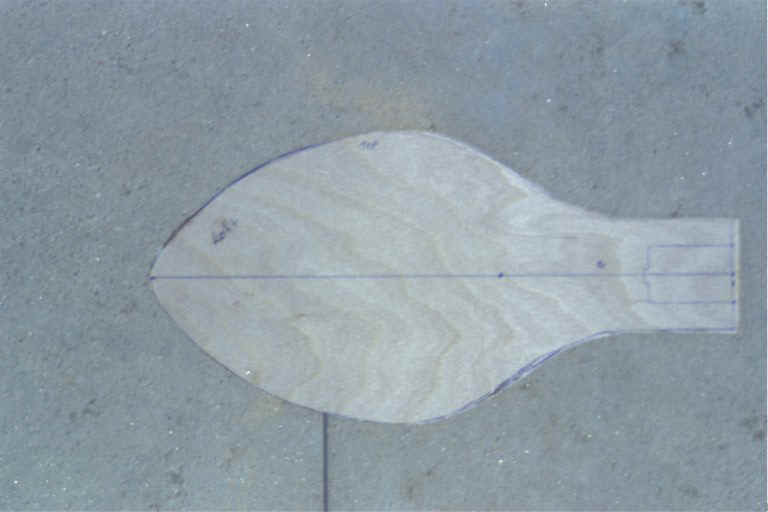 |
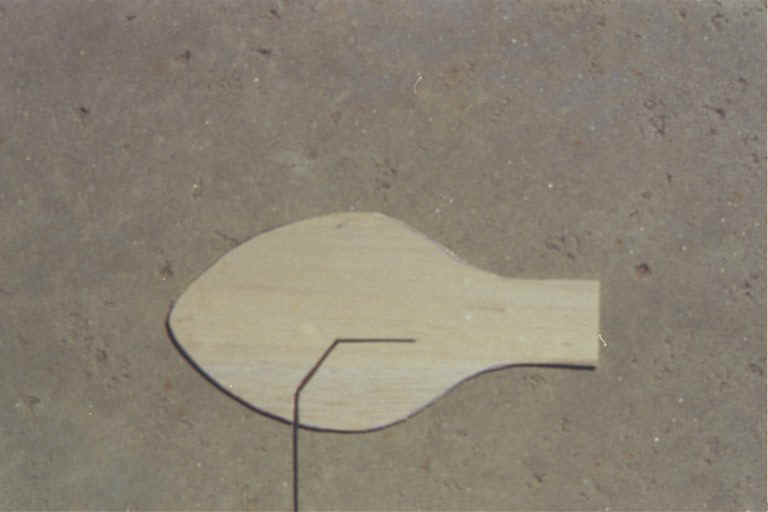
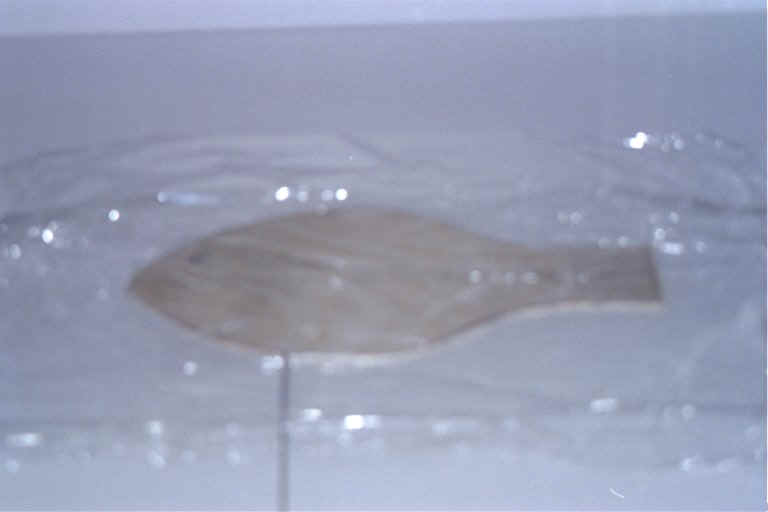
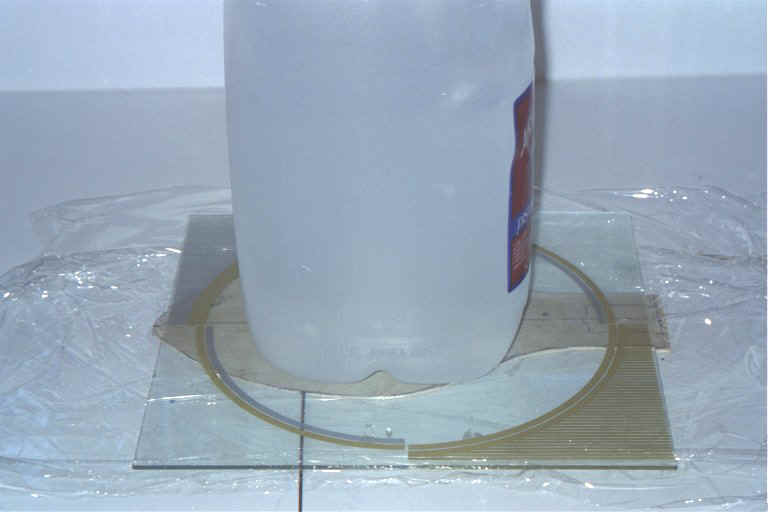
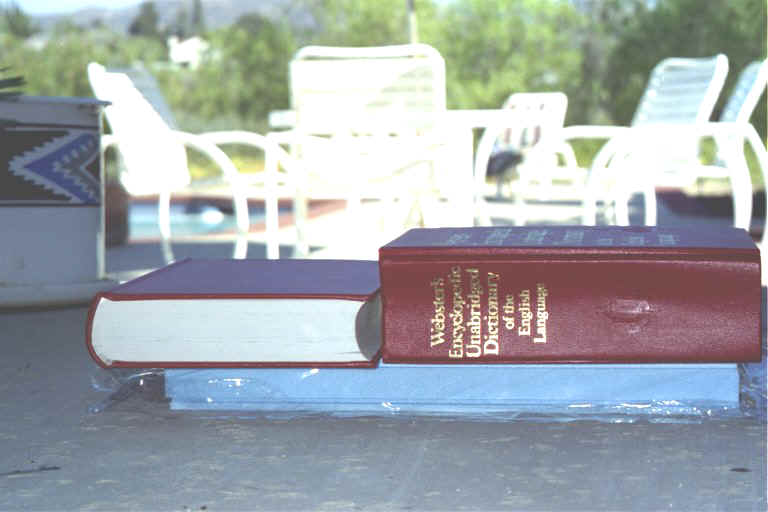
| Trace outline of fuselage on 1/64 ply | Cut out channel for nose gear and then sandwich the balsa layer between the two 1/64 ply layers. | Cover with Saran wrap on both sides to prevent sticking and place weighted plate of glass over it while it cures | Cut out motor slot and drill wing rod hole. |
 |
 |
 |
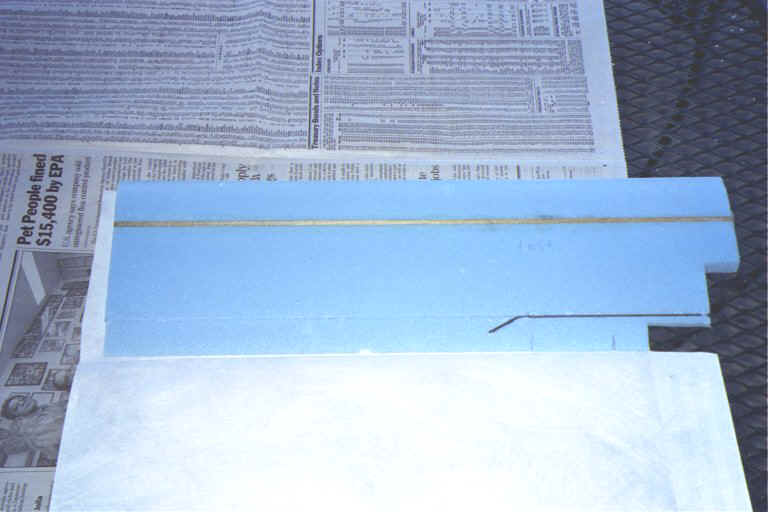 |
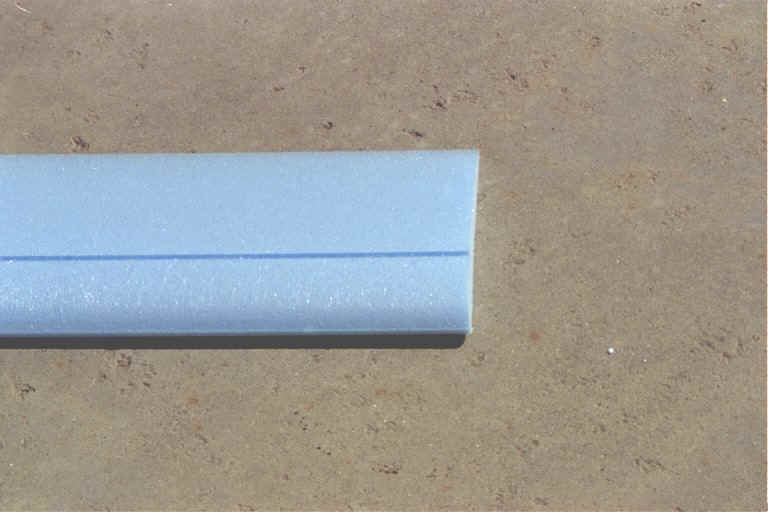
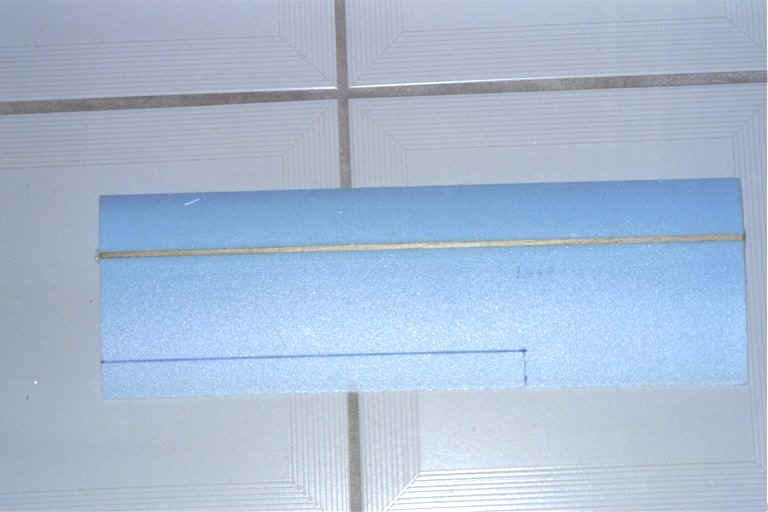
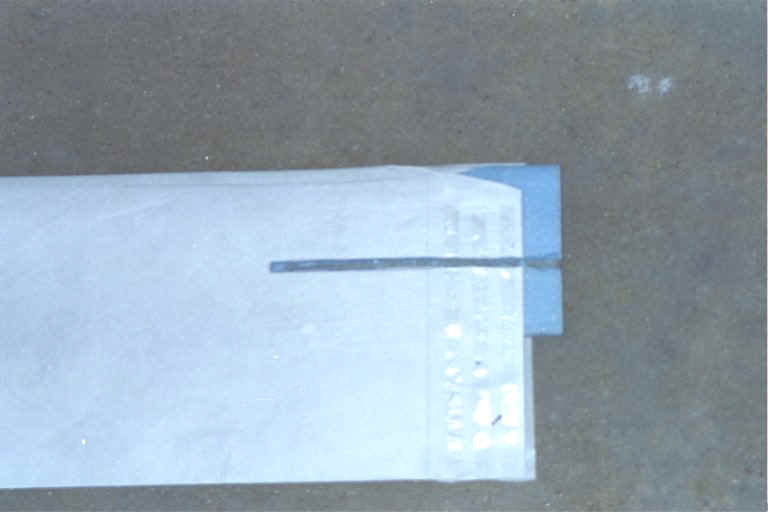
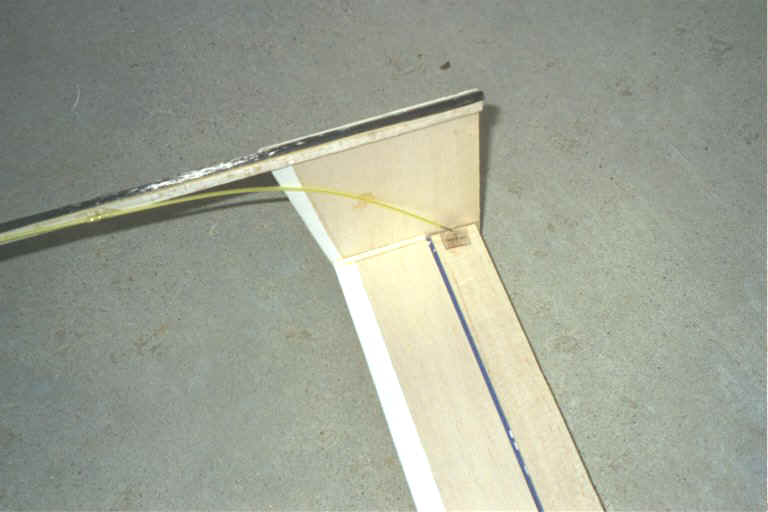
| Cut 1/8" bu 1/4" slot for spar. | Epoxy spar in slot and place in wing saddles to cure. Note saran wrap to prevent from sticking | Trace aileron pattern on wing and cut away. Bevel the leading edge of aileron to 45 degrees. Note blank area for shroud. | Place torque rods in postion in flush slots with hingeline. Place trailing edge in crease of adhesive sprayed Tyvek envelope. |
 |
 |
 |
 |
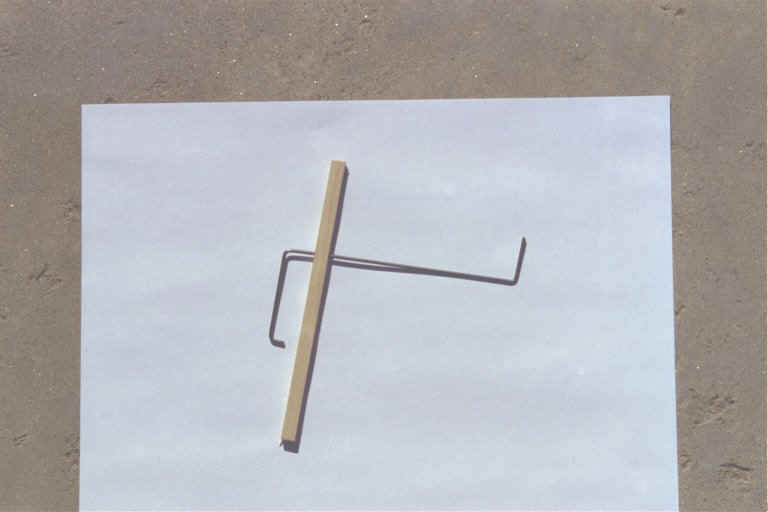
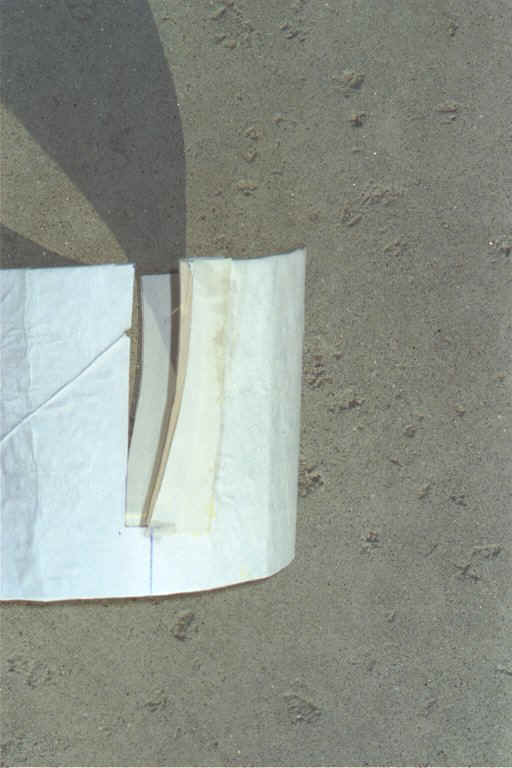
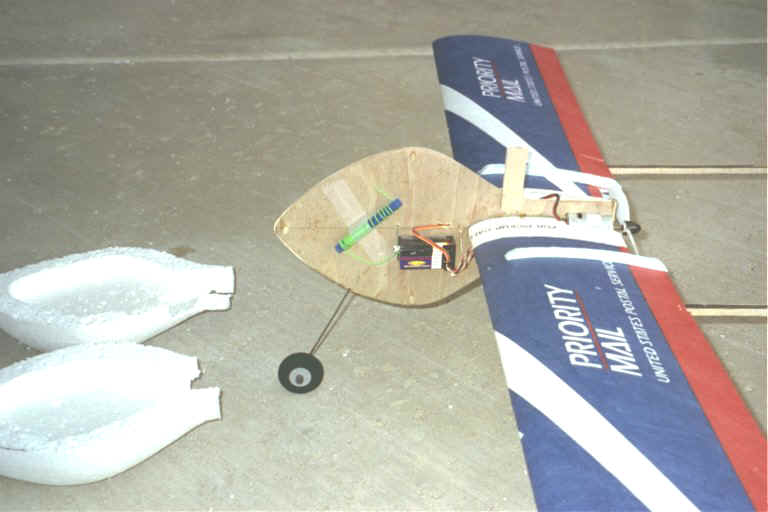
| landing gear spar is of hard wood and sandwiches the wingrod with the top spar. | Pre-bend top of landing gear and push through bottom spar, then bend the wheel axle. | Note solid area at the trailing edge of shroud. Repairs made with card stock and balsa. | Alternative shroud made from bleach bottle. Note right wing covered with reversed TYVEK priority mail envelope |
 |
 |
 |
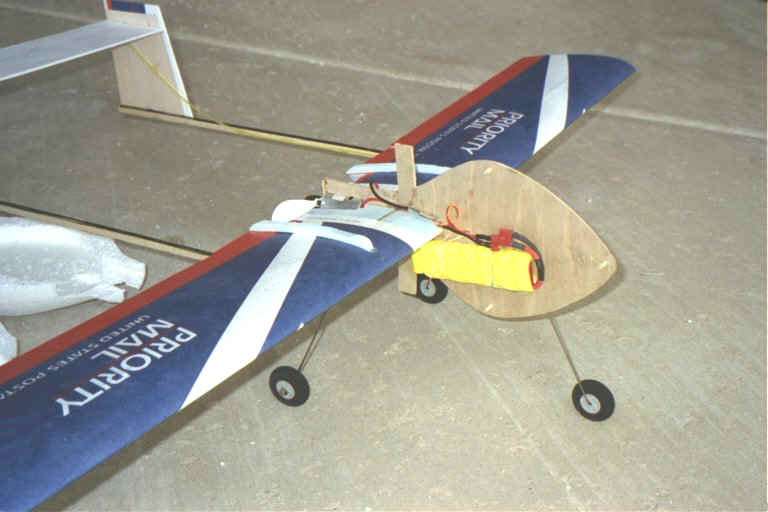 |
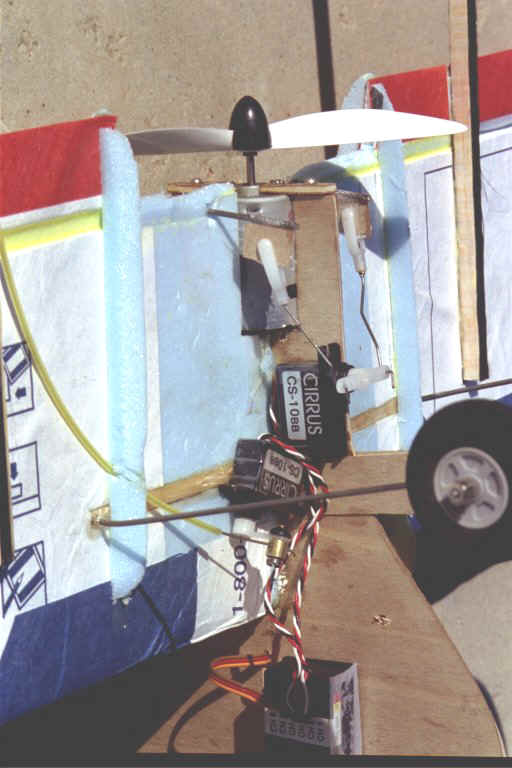
| Attach control wire to elevator horn and then glue to elevator. Note TYVEK hinge.Note carbon fiber tow laminated tail booms | Servo and motor installation. Note Ply pieces holding motor and aileron torque rod controls fiberglassed on. Note Shroud gussets. Keep elevator control cable kink free. | Radio gear is velcroed on. Note Shroud pylons. Note canopy halves. | Battery is velcroed on. |
| Back to FrankenFoamy | After several months and dozens of flights (testing the limits) the wing covering
began to show wrinkles. A low temp covering iron shrank the wrinkles making the wing even stronger! |
||